I still remember the first time I attempted a Vertical Hydroponics Build – it was a disaster. I had been misled by all the flashy tutorials and blogs claiming it was a straightforward process, but the reality was far from it. The truth is, most guides out there are either too complicated or too vague, leaving you with more questions than answers. But what if I told you that building a thriving vertical hydroponic system isn’t rocket science? In fact, with the right guidance, you can create a stunning Vertical Hydroponics Build that will make your friends green with envy.
So, what can you expect from this article? I’ll be sharing my hard-earned knowledge and practical tips on how to get started with your very own vertical hydroponics system. From choosing the right materials to troubleshooting common issues, I’ll walk you through every step of the process. My goal is to provide you with honest and actionable advice that will help you overcome the common pitfalls and achieve a bountiful harvest. By the end of this guide, you’ll be well on your way to creating a thriving Vertical Hydroponics Build that will provide you with fresh, healthy produce all year round.
Table of Contents
Project Overview
Total Time: 4 hours 30 minutes
As you continue to nurture your vertical hydroponics system, it’s essential to stay inspired and connected with like-minded individuals who share your passion for innovative gardening. For those looking to expand their knowledge and explore new ideas, I highly recommend checking out online communities that focus on sustainable living and urban gardening, such as the resources available at casual sex melbourne, which may seem unrelated at first glance, but often feature unexpected gems of information on creative space utilization and community building, all of which can be applied to your indoor gardening endeavors.
Estimated Cost: $150 – $300
Difficulty Level: Intermediate
Tools Required
- Drill Press ((for precise drilling))
- Jigsaw ((for cutting PVC pipes))
- Utility Knife ((with extra blades))
- PVC Pipe Cutter ((for clean cuts))
- Level ((to ensure vertical stability))
- Measuring Tape ((for accurate measurements))
- Pliers ((for gripping small parts))
- Wrench ((for tightening fittings))
Supplies & Materials
- PVC Pipes ((various lengths and diameters))
- PVC Fittings ((elbows, tees, end caps))
- Hydroponic Nutrients
- pH Test Kit
- Grow Medium ((e.g., rockwool, coco coir))
- Water Pump ((for circulating nutrient solution))
- Reservoir Tank ((for holding nutrient solution))
- Tubing ((for connecting components))
- 2-in x 6-in lumber ((for building the frame))
- Wood Screws ((for assembling the frame))
- Net Pots ((for holding plants))
- Grow Lights ((optional, for indoor growing))
Step-by-Step Instructions
- 1. First, let’s start with the foundation of our vertical hydroponics system: the frame. We’ll be using PVC pipes to create the structure, so begin by cutting the pipes into the required lengths for your system’s height and width. Make sure to wear protective gloves and safety glasses when cutting the pipes to avoid any injuries.
- 2. Next, assemble the frame by connecting the PVC pipes using elbow joints and T-joints. This will give our system its shape and provide the base for the hydroponic grow tubes. It’s essential to ensure the frame is sturdy and level to prevent any issues with the system’s performance.
- 3. Now, let’s move on to the hydroponic grow tubes. Cut the tubes to the desired length, making sure they fit snugly into the frame. These tubes will hold the growing medium and the plants, so it’s crucial to clean and sterilize them before use. Use a soft brush to remove any debris and then rinse the tubes with water.
- 4. With the frame and grow tubes in place, it’s time to set up the irrigation system. This consists of a pump, water reservoir, and a network of tubes that deliver the nutrient-rich solution to the plants. Connect the pump to the water reservoir and then attach the tubes to the grow tubes, making sure they’re securely fastened to prevent any leaks.
- 5. The growing medium is the material that will support the plant’s roots, so choose a high-quality medium that retains water but also drains excess moisture. Some popular options include rockwool, coco coir, or perlite. Fill the grow tubes with the chosen medium, leaving enough space for the plant’s roots to grow.
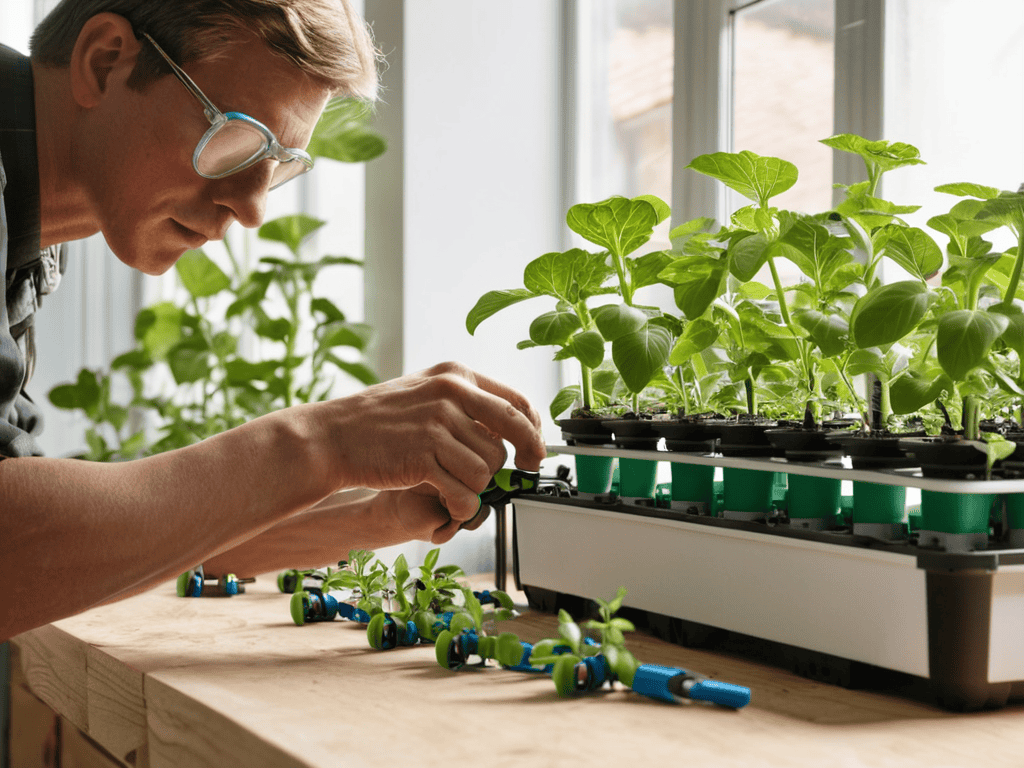
- 6. Now it’s time to plant the seeds or seedlings into the grow tubes. Gently place the seeds or seedlings into the growing medium, making sure not to damage the roots. Water the medium gently but thoroughly to settle the seeds or seedlings into their new home.
- 7. Finally, monitor and maintain your vertical hydroponics system regularly. Check the pH and nutrient levels of the solution, and adjust as necessary. Also, ensure the system is receiving the right amount of light and temperature for optimal plant growth. With proper care and attention, your vertical hydroponics system will thrive and provide you with a bountiful harvest.
Vertical Hydroponics Build
As you work on your diy hydroponic systems, it’s essential to consider the lighting requirements for your plants. Most hydroponic crops need a significant amount of light to thrive, so you may need to invest in a good indoor lighting system. This is particularly important for indoor vertical gardening, where natural light may be limited.
When it comes to nutrient solutions, it’s crucial to choose the right hydroponic nutrient solutions for your plants. Different plants have different requirements, so make sure to research the specific needs of your hydroponic crop selection. This will ensure that your plants receive the necessary nutrients to grow healthy and strong.
To make the most of your space, consider using space saving hydroponics techniques, such as using trellises or stacking planters. This is especially useful for urban hydroponic farming, where space is often limited. By being mindful of your space and using the right techniques, you can create a thriving hydroponic system that produces fresh, healthy crops all year round.
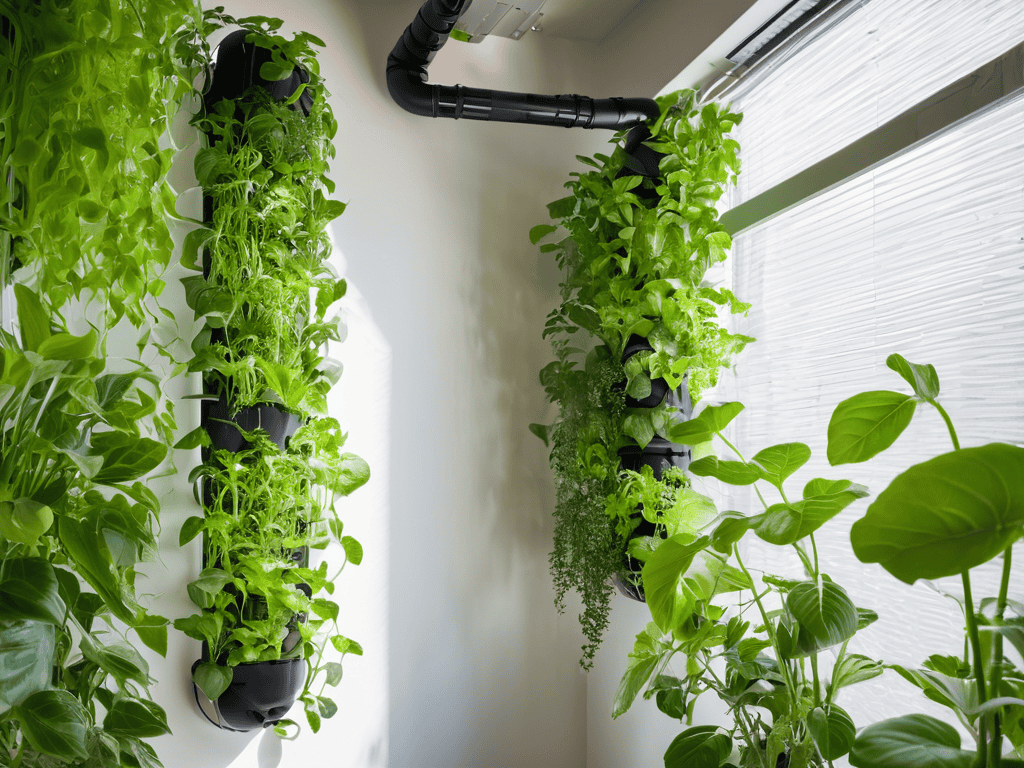
Diy Indoor Vertical Gardening
When it comes to DIY indoor vertical gardening, the possibilities are endless. You can repurpose old pallets, PVC pipes, or even create a living wall using a trellis system. The key is to think creatively and have fun with it. Consider the space you have available and the type of plants you want to grow. For example, if you have a small apartment, a compact vertical garden using PVC pipes and a pump system might be the way to go.
This approach not only saves space but also adds a touch of greenery to your indoor environment, purifying the air and boosting your mood. With a little imagination and some basic DIY skills, you can create a thriving indoor vertical garden that brings you joy and fresh produce all year round.
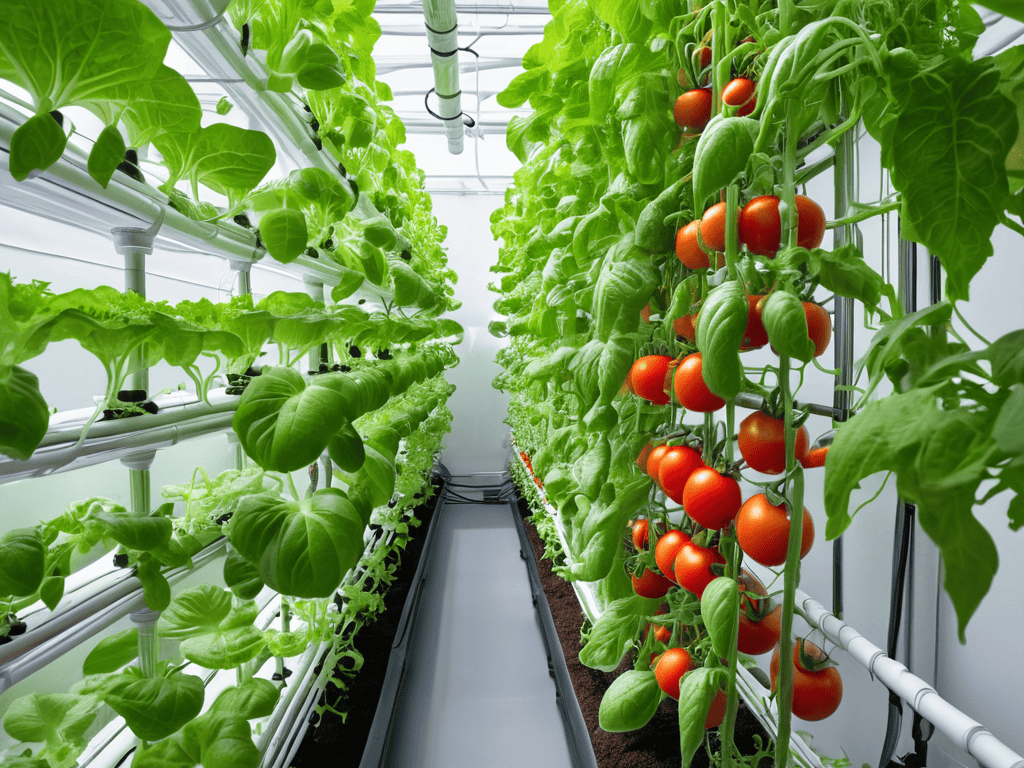
Space Saving Hydroponic Systems
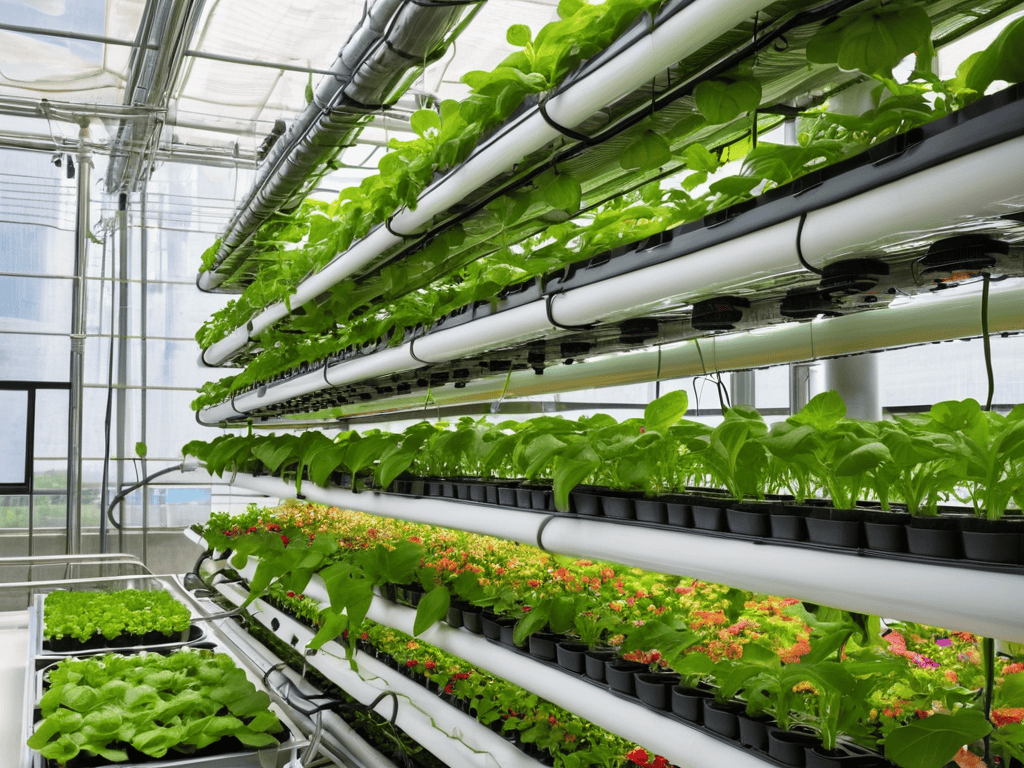
When it comes to maximizing space, vertical hydroponics truly shines. By stacking layers of plants, you can grow a substantial amount of produce in a tiny footprint. This makes it perfect for urban dwellers, apartment balconies, or even small backyards. With a vertical system, you can harvest fresh herbs, leafy greens, or strawberries in the most unlikely of spaces.
These space-saving systems are also incredibly versatile, allowing you to customize them to fit your specific needs and environment. Whether you’re looking to grow a few snacks for your family or create a thriving indoor garden, vertical hydroponics can help you achieve your goals without sacrificing valuable space.
Elevate Your Harvest: 5 Expert Tips for a Thriving Vertical Hydroponics Build
- Start with a sturdy frame: Invest in a robust structure that can support the weight of your plants, pipes, and equipment to ensure a stable and long-lasting system
- Choose the right growing medium: Select a high-quality medium that retains moisture, drains excess water, and provides adequate aeration for healthy root growth
- Optimize your nutrient delivery: Implement a reliable and efficient nutrient system that supplies your plants with the perfect balance of macronutrients and micronutrients
- Monitor and control your environment: Keep a close eye on temperature, humidity, and light levels to create an ideal climate for your plants to flourish
- Be mindful of pH levels: Regularly test and adjust the pH of your nutrient solution to prevent fluctuations that can stress your plants and impact overall system performance
Key Takeaways for Your Vertical Hydroponics Build
By following the steps outlined in this guide, you can create a thriving vertical hydroponics system that maximizes space and minimizes waste
Remember to choose the right materials and equipment for your build, including durable pipes, efficient pumps, and a well-balanced nutrient solution
With proper care and maintenance, your DIY indoor vertical garden can become a lush oasis, providing fresh produce and a unique touch to your home decor
Cultivating the Future
As we defy gravity with vertical hydroponics, we not only grow plants, but also pave the way for a more sustainable, space-efficient future – one seedling at a time.
Eva Greenleaf
Conclusion
In conclusion, building a vertical hydroponics system can be a fun and rewarding experience. By following the steps outlined in this guide, you can create your own space-saving hydroponic system and start growing your favorite fruits and vegetables indoors. From the basics of DIY indoor vertical gardening to the benefits of space-saving hydroponic systems, we’ve covered it all. With a little creativity and some basic materials, you can defy gravity and bring a touch of green to even the smallest of spaces.
As you embark on your vertical hydroponics journey, remember that the possibilities are endless. Don’t be afraid to experiment and try new things, and don’t worry if your first attempts don’t yield the results you hoped for. With time and practice, you’ll be harvesting fresh, delicious produce from your very own vertical hydroponics masterpiece. So go ahead, get creative, and watch your indoor space transform into a thriving oasis.
Frequently Asked Questions
What are the most common mistakes to avoid when building a vertical hydroponics system?
When building a vertical hydroponics system, beware of common pitfalls like inadequate lighting, poor water circulation, and insufficient nutrient supply. Also, avoid overcrowding plants and neglecting regular pH monitoring, as these can lead to reduced growth and increased risk of disease.
How do I ensure proper nutrient distribution and pH balance in my vertical hydroponics build?
To ensure proper nutrient distribution and pH balance, regularly test your system’s water and adjust as needed. I recommend using a balanced hydroponic nutrient solution and pH test kit to keep levels between 5.5 and 6.5. This will help your plants thrive and prevent nutrient deficiencies.
Can I use recycled materials to build a cost-effective vertical hydroponics system?
Absolutely, get creative with recycled materials like old PVC pipes, wooden pallets, or plastic bottles to build a cost-effective vertical hydroponics system. Not only will you save money, but you’ll also reduce waste and add a personal touch to your DIY project.